
 MBR Membrane
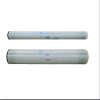 Reverse Osmosis Membrane
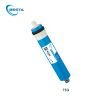 Residential Ro Membrane
 UF Membrane
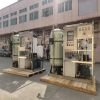 Water Treatment Plant
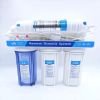 Residential Ro Machine
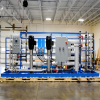 Brackish Ro System
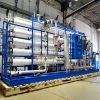 Sea water system/SW RO plant
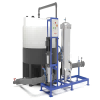 Membrane Cleaning System(CIP)
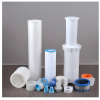 Consumables Accessories
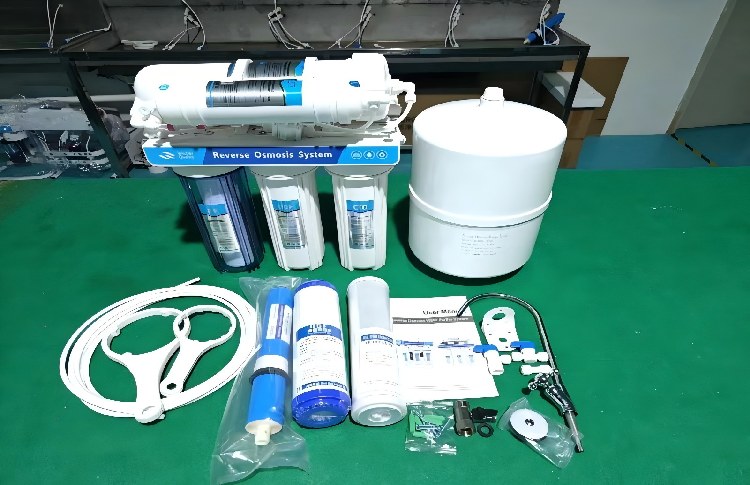
A Reverse Osmosis (RO) system is an essential part of many households, providing purified water for drinking, cooking, and other uses. The heart of an RO system is its membrane, which filters out impurities and contaminants from the water. However, like any filter, the RO membrane will eventually wear out, affecting the quality of the water. Therefore, it is crucial to know how to choose and replace a domestic reverse osmosis membrane to ensure clean and safe water. This article will guide you through the process, step by step.
Understanding the Importance of the RO Membrane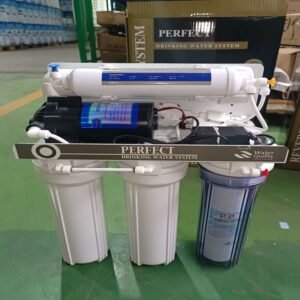
Before choosing and replacing an RO membrane, it’s important to understand its role in the filtration process. The RO membrane acts as a barrier that separates impurities such as bacteria, viruses, chlorine, and other contaminants from the water. Over time, the membrane becomes clogged with these impurities, reducing its effectiveness. Consequently, this can lead to lower water quality and slower filtration rates. Thus, regular maintenance and timely replacement are essential for optimal performance.
How to Choose the Right RO Membrane
When selecting an RO membrane for your home, several factors must be considered. First, you need to ensure that the membrane is compatible with your RO system. Each system has its own specifications, and not all membranes are interchangeable. Check the manufacturer’s guidelines or consult with a professional to identify the correct size and type of membrane for your model.
Second, consider the membrane’s filtration capacity. RO membranes typically range in their flow rate, measured in gallons per day (GPD). A higher GPD means the membrane can filter more water per day. Choose a membrane that matches your household’s water usage. If you have a large family or use a lot of water, a membrane with a higher GPD would be more suitable. Conversely, if your water consumption is low, a membrane with a lower GPD may be sufficient.
Third, consider the material and quality of the membrane. Most RO membranes are made from thin-film composite (TFC) materials, which are highly effective at filtering contaminants. However, membranes can vary in quality, so it’s important to choose a reputable brand known for durable and high-performance products. High-quality membranes will last longer and provide better filtration.
Finally, check the cost and warranty. While it’s tempting to choose a cheaper membrane, investing in a higher-quality membrane can save you money in the long run. A good warranty ensures that you can get a replacement or refund if the membrane fails prematurely.
How to Replace the RO Membrane
Once you have chosen the right RO membrane, the next step is replacing the old one. Here’s a step-by-step guide to help you with the process.
Step 1: Turn Off the Water Supply
Before beginning any work on your RO system, make sure to turn off the water supply to prevent leaks or accidents. It’s also a good idea to disconnect the power if your system has an electric pump.
Step 2: Locate the Membrane Housing
Next, locate the membrane housing. This is usually a cylindrical container that houses the RO membrane. The housing is typically situated beneath your sink or in a cabinet. Depending on your system, you may need to use a wrench or screwdriver to loosen the housing.
Step 3: Remove the Old Membrane
Once the housing is loose, carefully remove the old membrane. Be mindful not to damage any other components, such as O-rings or seals. If the membrane is stuck, you may need to apply gentle force, but avoid using sharp objects that could cause damage.
Step 4: Insert the New Membrane
Now that the old membrane is removed, insert the new membrane into the housing. Make sure it’s properly aligned, and ensure that it fits snugly. It’s essential that the membrane is securely in place to prevent any leaks.
Step 5: Reassemble the RO System
After the new membrane is in place, reassemble the housing and any other components you may have removed. Double-check that everything is tightened and secure before proceeding.
Step 6: Turn On the Water Supply
Finally, turn on the water supply and check for leaks. Run the system for a few minutes to allow the new membrane to begin filtering the water. You may notice a difference in the taste and quality of the water immediately.
Conclusion
In conclusion, choosing and replacing a domestic reverse osmosis membrane is a straightforward yet crucial task for maintaining the efficiency and quality of your water filtration system. By selecting the right membrane based on your system’s specifications, water usage, and budget, you can ensure that your household enjoys clean and safe drinking water. Regular maintenance and timely replacement of the RO membrane will help you get the most out of your reverse osmosis system. Always remember to follow the manufacturer’s instructions and consult a professional if needed. With the right approach, your RO system will continue to provide high-quality water for years to come
